Showing posts with label Patterns. Show all posts

Saturday, May 01, 2010

Free Envelope Pattern 2"x3"

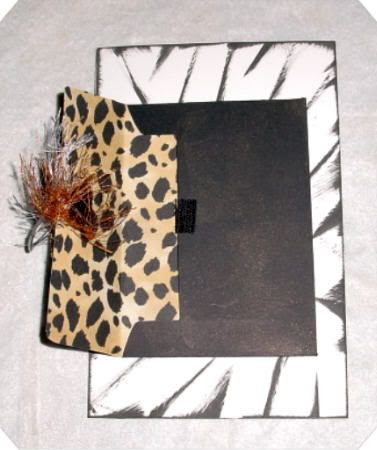
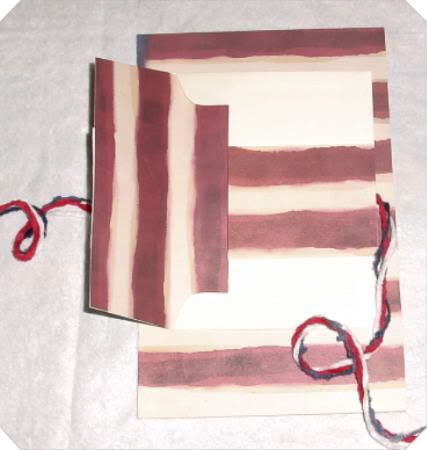
I love envelopes! They are the best way to be able to add MANY photos to a single layout! And there is so much you can do with a single envelope! You can make envelopes any size you want. Adhere them on the background page any way you want. Make so many beautiful and amazing closures for the envelopes. And the list goes on.

Sometimes you have a lot of photos you'd like on a layout but can't possibly put them on on mattes and on the background page - Envelopes make it possible to put many photos on a single layout. Just make the size of envy you want and cut your photos that same size and BINGO! Slide the photos in the envelope and you got a fantastic layout with LOTS of photos!

Cut multiple sheets of cardstock the same size as the envelope and use them for journaling. You can say alot in one envelope!

Have some memorabilia or other little items you want on the layout but no way to adhere them to the background page? Slide them into an envelope!

Envelopes make for a fun, interactive feature to a scrapbook layout - it is fun and intriguing to "untie" the closure to see what's inside the envelope!

Use vellum, or cardstock, solid or pattern. Anything works! The possiblities are endless! And envelopes are so easy to make and you can make them to match any theme or style of scrapbook layout.

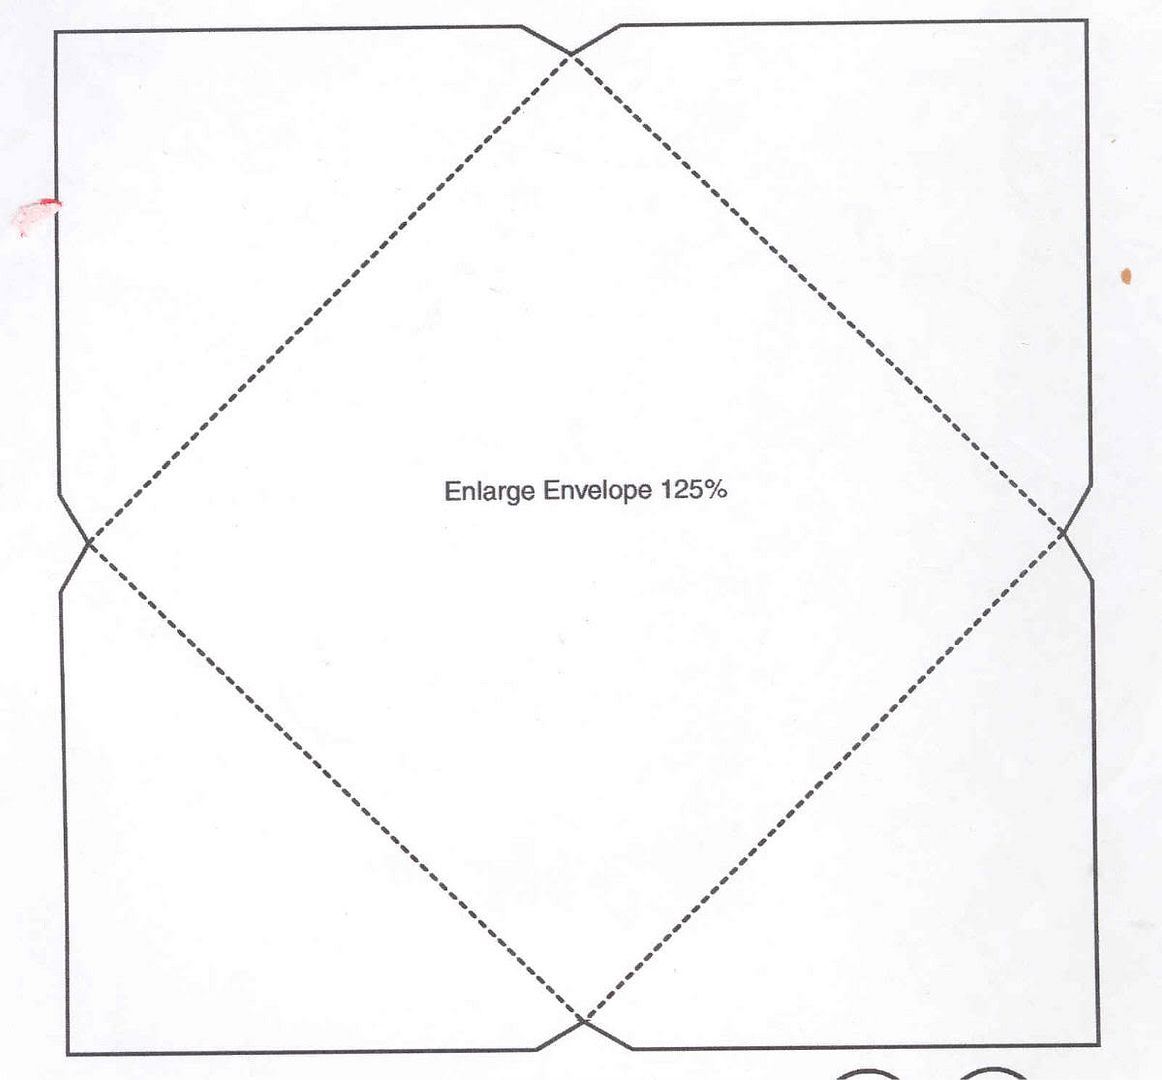
I found this pattern for a 2x3" envelope in my huge stock of scrapbooking supplies and things and thought I'd share it.


Also, if you look at this article, it has other options for creating and using envelopes. I have created all these myself. I love creating the closure - there is just so much you can do and so many ways to make the flap close to accomodate the layout! How To Make An Envelope

Click on the image above and it will take you to another page where you can save and print it. I tried to make it the size you could just copy onto an 8x10 sheet of paper and get actual 2x3" size of envelope, but couldn't figure out how to do that so you can just print it out as is and then make a copy and use the ENLARGE feature on the machine - or if you know how to enlarge it on your computer photo editing program, you could do it that way. This is not my original pattern. I know who is the the creator of the pattern, but I thank whoever did it!

Friday, December 14, 2007

Make Your Own Envelope


1. Find any envelope you want to use for the size. Small, long, square, whatever. Even little package name tags size are fun to work with and have on the page

2. Turn it over to the back. Look to see "how" it is constructed. Usually there is one large flap "glued" over the top of 2 side flaps

3. Starting at the top, gently start "tearing" or peeling the large front flap away from the smaller flaps on the sides. Tear slowly and gently but if it isn't perfectly torn or there are gaps, it won't matter - that is fixable. Just try as slowly and gently as possible to pull the flaps apart to make it easier on yourself!

4. Once apart open it up and now you have your pattern!

5. Open the envelope pattern you just created. flatten it out. Place it on the paper you want to make into an envelope. Sometimes a tiny bit of glue stick in the middle is a good thing to do so that it stays in place. Just make sure you put the glue where the glue residue WON'T show once the envelope is done. Trace around the pattern. Remove the pattern from the paper.

6. Now to make the fold lines: Using the "real" envelope for a guide, take your ruler and line up from side to side, where the folds should be. You will only have 4 fold lines, 2 vertically and 2 horizonaly. Draw a line for each fold. At this point you just make the fold on each line you have drawn.

7. Fold the 2 side flaps in and then fold the lower portion UP, then fold you top flap DOWN. Use your ruler or bone folder to flatten the creases. Now your envelope is created! Apply adhesive ( I use glue sticks) on the side flaps. Fold the bottom flap up and press for the glue to stick. The top flap just folds down.

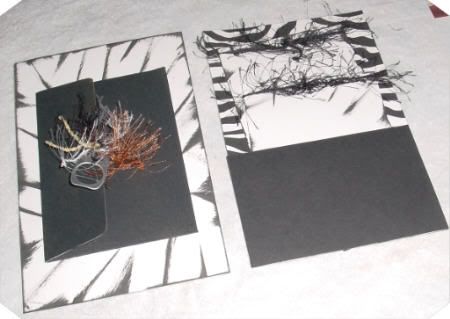
To add extra embellishment: I always cover the inside of the envelope that is visable, like this


Take the envy you just made and lay it on a contrasting piece of paper. Place it open side up so you can see where to end it. Make the contrasting paper go just below the bottom flap's edge, just to make sure there is no gap showing and when you open the envy all you see is the contrasting paper.

Trace the outline of the envy - basically just the top half of the envy is what you will be tracing. Cut this piece out, and do a bit of wigglying and a small trim of the edges that go inside the envy so that it matches the closing flap. Hard to explain, but as you do this, you will see what I am talking about. Then just glue it down!

Make sure you have glue where the fold line are, and make sure you flatten this very well - use your ruler or a bone folder to smooth it out. This makes sure that there is no "bubble" of the paper in that area.

And you are done!!


Tuesday, April 17, 2007

Small Envelope Pattern

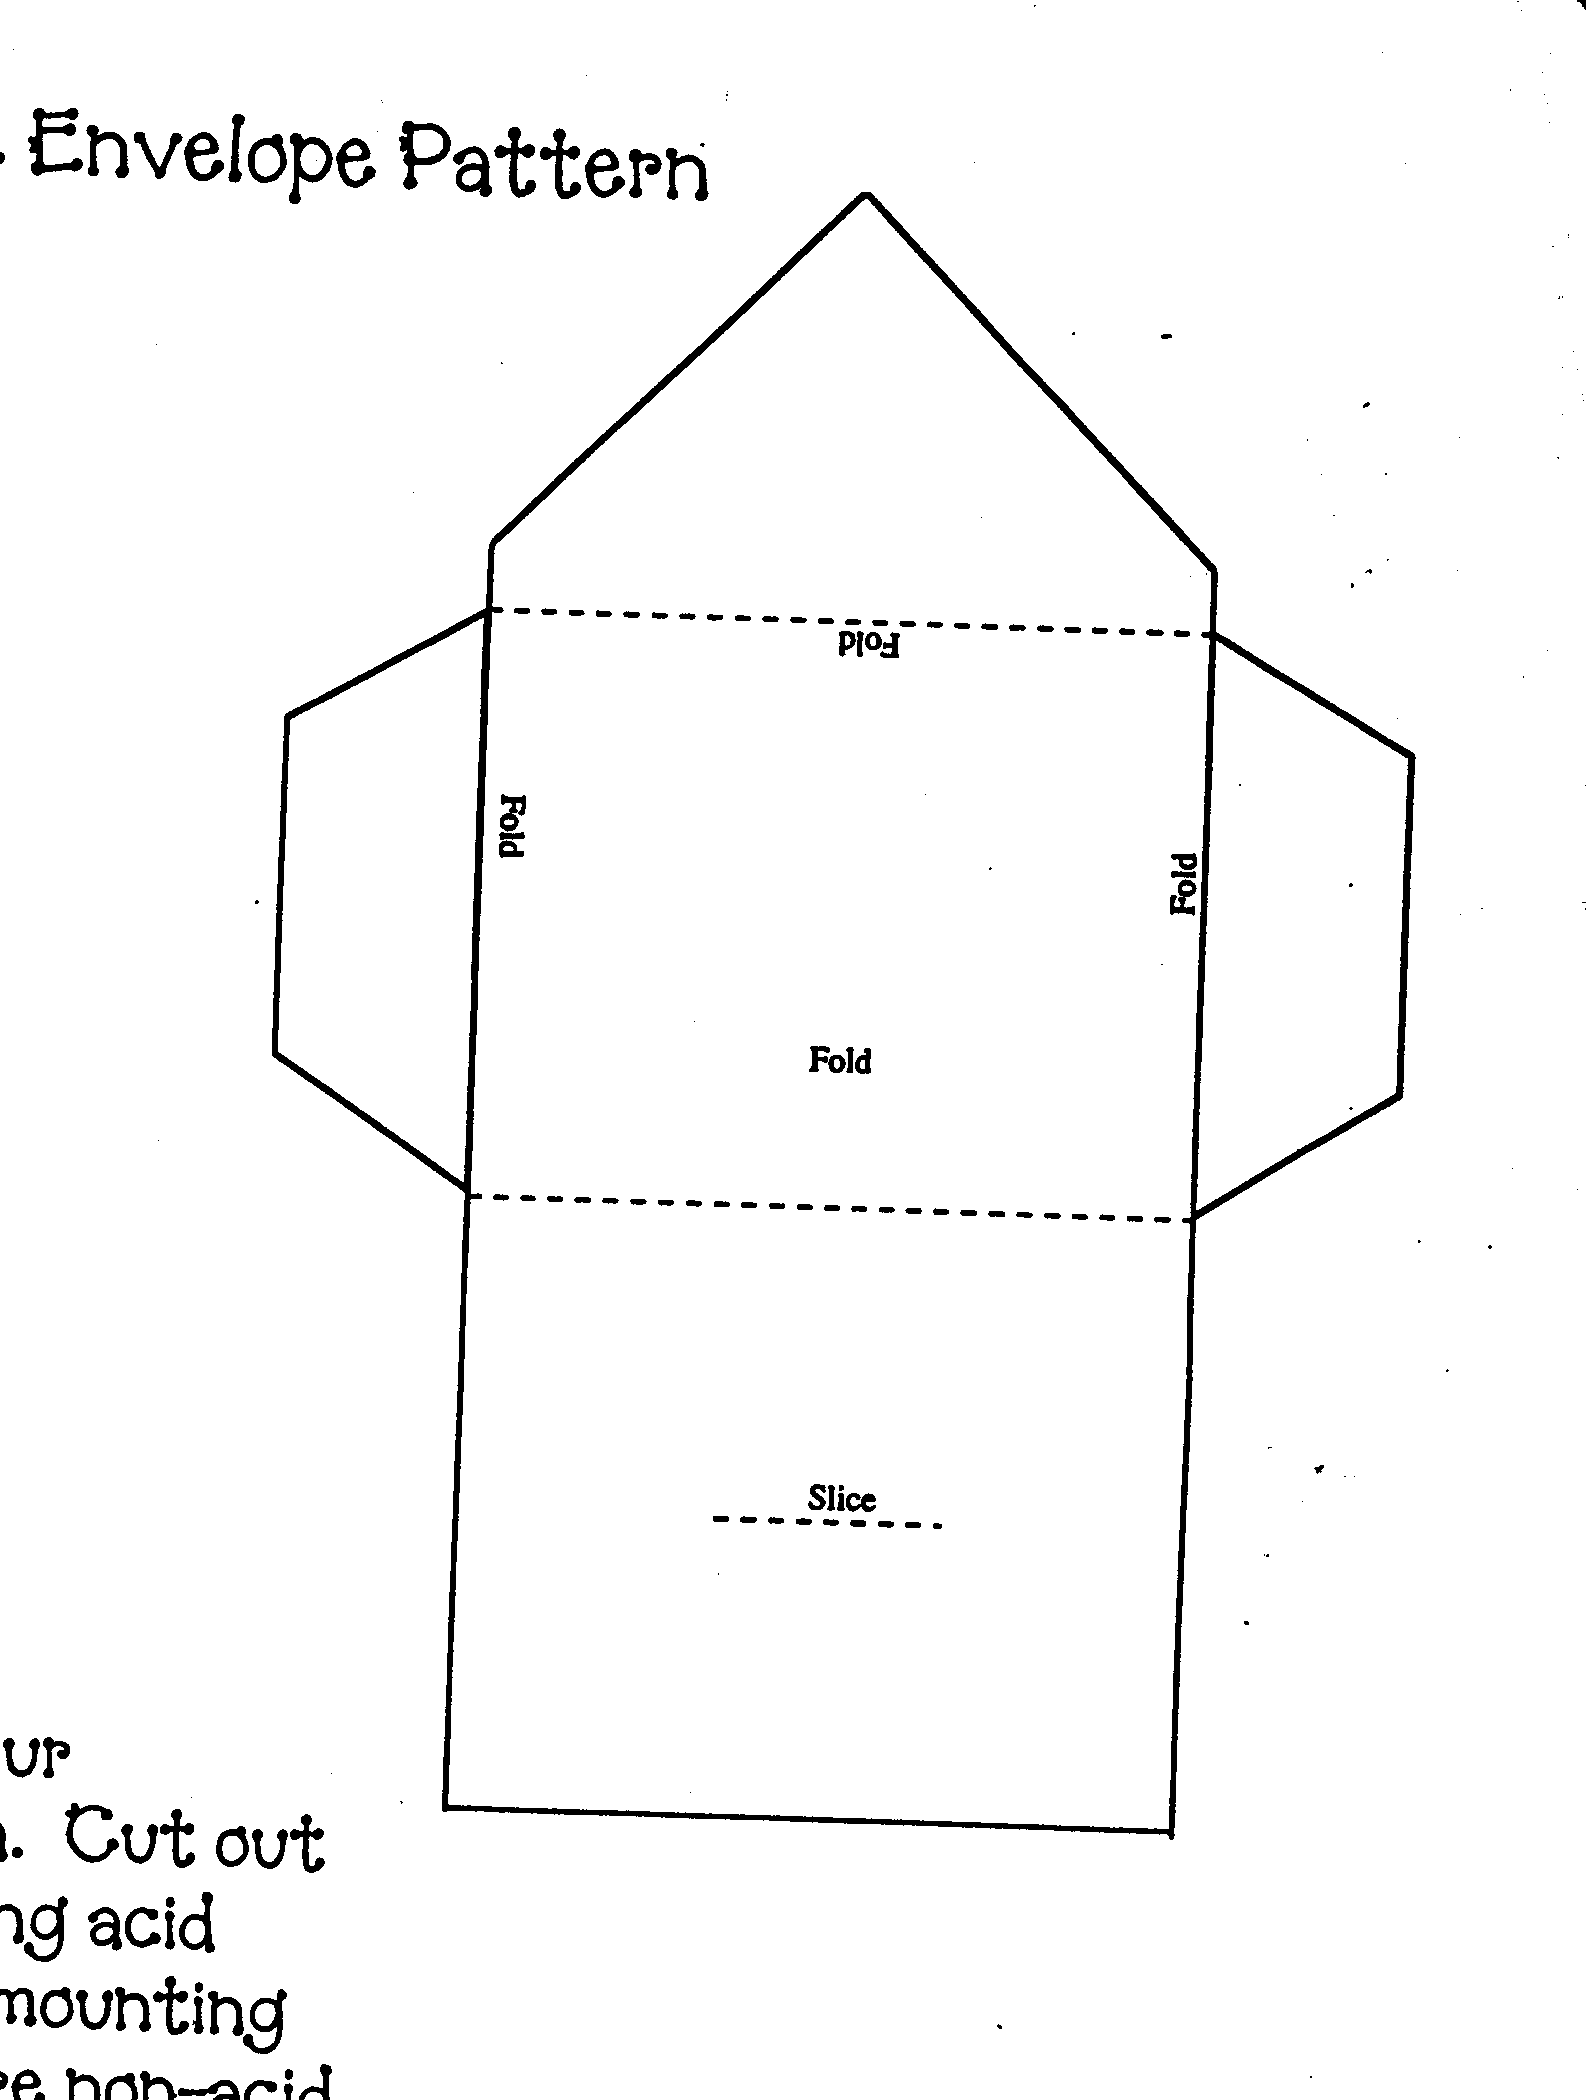
I found this pattern in all my inventory of scrapbooking supplies and embellishments. It is really a good pattern to use for adding an embellishment to work with journaling. Write your journaling on a piece of cardstock and slide it into the envelope. Decorate the front of the envelope.

Or, my favorite way to use this pattern is with vellum - make the envelope out of vellum and use a sticker on the front, or cut a photo the exact size of the front of the envelope and slide that in the envelope. Then you have a muted photo front to the envelope.


Click on the pattern and it will take you to a larger size to print out. You can reduce the patter to make is smaller if you like!