

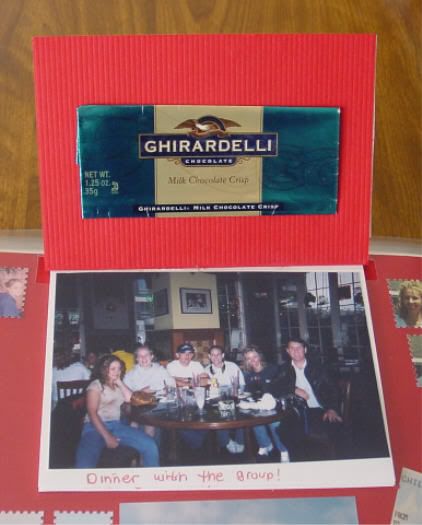
Look closely, you can see how I mounted the 4x6 photos to white cardstock with photo adhesieve squares and then using a red gel pen, wrote the captions on the upper or lower edges of the white cardstock page. No cutting, cropping or sizing! I have these two "pages" and 2 more in this book. It is not to thick, but just enough to hold the extra photos and not be to bulky.
Want to Make This Book?
Book was made by just matting photos to cardstock. How easy is that! First, I used 4x6 inch as my main measurement and then took white cardstock and cut "pages" with an additional border of 1/4" on the sides and 1/2" on the top and bottom (of the white cardstock). The extra 1/2 added to the top will be what is put in the "binding" and the bottom will be space for the captions. The writing space will alternate as you turn the "pages".
Next, take a piece of matching background cardstock (in this layout case it was red) and cut a piece the same size as the white cardstock pages. This will be the front cover of the book. Add the photo and it now looks like any other photo on a scrapbook page because the border area is the same color as the background.
Next, take another piece of the matching (red) background cardstock and cut it the size of the pages PLUS another 1/2 inch to the top edge. This 1/2 inch is then folded down OVER all of the white photo pages to create a "spine". I then used 3 gold brads to secure all pages, pressing them through the "spine", including all pages and to the back of the book and folding the prongs outward. The back of the book is then glued to the background page.
And the "book" is done! Pretty easy! Even a beginner can do this book. Just measure and cut. If you don't want to secure the book to the background page, make a pocket for it to slip into!
Give it a try! If you have any questions, leave me a comment and I will help you out.


4 comments:
Cheri, You are so creative and inspiring. What great ideas! Thanks for the detailed instructions, too. You make me want to go get busy with my photographs!
Susan
Thanks for the great info. I have been looking or something like this. I enjoy using many photos in my sb. I tried it and it works great. thanks again
Thank you! You know why I started that? I had alot of photos and found myself making 4-6 layouts of the same thing, just to include all the photos I had! My albums are so heavy its hard to look at them! So I did this kind of thing to put many on one layout! Works great and the albums are only heavy now cause they span so many years!
Good luck with your many photos!
What a great and creative way to fit more pictures on a page. Excellent for when you don't know which pictures to choose!
Post a Comment